Self-hosted Mastodon
Hosting Mastodon from your basement
There are plenty of great resources to help folks with a moderate technical background setup a Mastodon instance, including the official documentation. However, I thought I would write down the steps I took in one place to set up werm.world, the Mastodon instance running on {zombiebox} in my basement.
Outline:
- Setup a home server
- Setup Mastodon
- Instance configuration
- Ongoing maintenance and backups
1. Setup a home server
You could, of course, rent a server on !the cloud!. In my case, I intended to only house a couple of folks on my instance, and so wanted to keep ongoing costs low. Plus it's an opportunity to make use of old or unused computers. Earlier this week, I wrote about {running a basement server}.
On my server, I am running a minimal version of Ubuntu. However, if I were to do it again (and I may perhaps migrate in the future) I would dig deeper into NixOS. One of the most tedious aspects of server experimentation is remembering setup steps, minute edits to configurations hidden in the depths, and terminal commands with side-effects. What makes NixOS so exciting to me is that it solves for just this, and more. NixOS is declarative, meaning a configuration can be used for reproducable outcomes. Had I used NixOS, I could simply share the portion of the configuration for the Mastodon server, and you could merge this into your configuration and replicate exactly what I was running. However, since I just welcomed a new child to my family, I figured I would limit the number of variables, stick to what I knew, and save NixOS for a later adventure.
For posterity, the resources I found are:
- Setting up Mastodon with mixos
- Self hosting Mastodon on nixos, a proof of concept
- From Ubuntu to nixos, history of a Mastodon migration
- nixpkgs nixos repo - mastodon server
2. Setup Mastodon
To setup Mastodon, follow the official setup documentation. Hah, gotcha! But wait, why is there so much text here? I will interject a few notes where either the documentation assumes experience that one might not have, or where I modified the steps.
Preparing your machine
Do not allow password-based SSH login
If you are setting things up on your server directly (i.e. you are typing commands into the device directly) you will likely want to enable remote access on your local network via ssh. If you aren't able to ssh into your machine, you may need to install openssh-server or the equivalent service for your operating system. On linux, you may need to also run sudo ufw allow ssh depending on your prior firewall configuration to enable ssh access to the server.
By default, when you ssh into your home server, it will prompt you to enter the password. What the setup guide suggests here is to disable this and restrict ssh access to an allowlist of authorized keys. On each of the computers you will use to manage the server over ssh, run the following to copy your ssh public key:
~> ssh-copy-id marsh@zombiebox.local
where marsh and zombiebox.local are replaced with the server user and hostname or ip respectively.
Install fail2ban so it blocks repeated login attempts and Install a firewall and only allow SSH, HTTP and HTTPS ports
I skipped these... since they are enforced by the firewall on my router. I've made sure that ssh is only possible via the local network -- meaning my router only forwards ports 443 and 80 to {zombiebox}. If you were running a server that was directly internet facing with it's own external IP (i.e. not fronted by a router/firewall), these steps would be a smart idea. If I've made a grave error, please be gentle and let me know!
Installing from source
This section is mostly complete, and I followed exactly. There are just a few deviations/corrections of note.
Acquiring a SSL certificate
I had to approach this step a bit differently from the guide. First, in order for letsencrypt (one the best things to happen to the internet) issue your certificate, your server needs to be reachable via the internet. Make sure you've completed the port forwarding steps in {running a basement server}. If you haven't you may get an error to this effect.
Additionally, the mastodon nginx configuration that they provide to copy into your server's /etc/nginx/sites-available/mastodon was invalid without the cert, and their recommended method, certbot wouldn't run because of the invalid nginx, a Catch-22 of sorts. Instead, I ran the following to create my SSL certificate:
letsencrypt certonly --standalone -d werm.world
Under the root user, I added the following cronjobs (using crontab -e) to make sure the cert stayed up-to-date:
0 1 * * 1 /usr/bin/letsencrypt renew >> /home/mastodon/letsencrypt.log
5 1 * * 1 /bin/systemctl reload nginx
Finishing the guide, everything worked except css and js assets were not being served. After a bit of digging, I found this issue and changed the permissions of the mastodon user's home directory per the issue.
3. Instance configuration
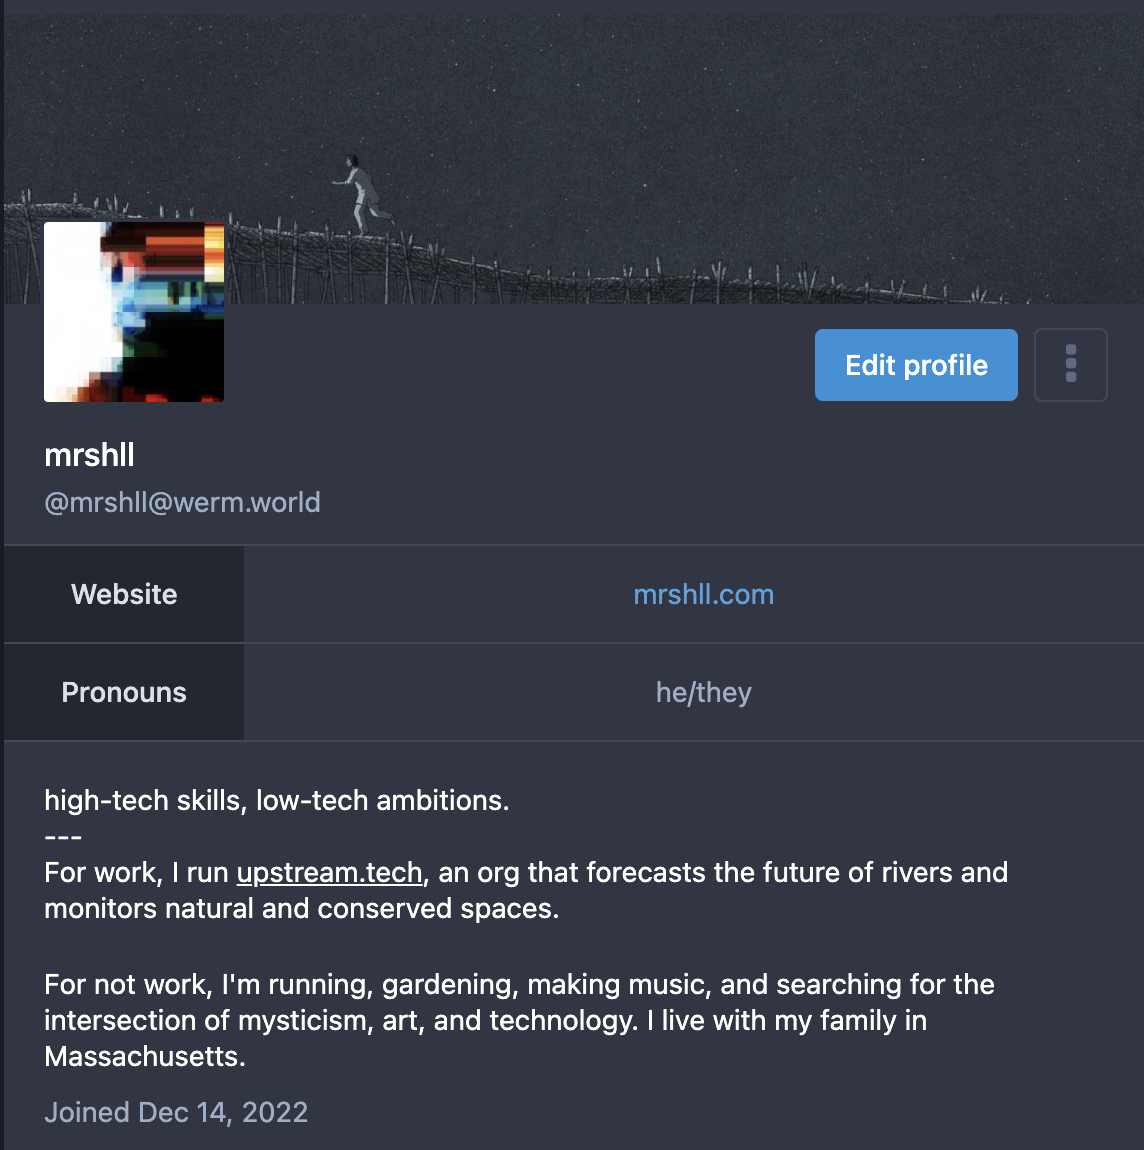
Everything was running! I created my admin user, migrated an existing account to the server, to live at @mrshll@werm.world - but the timeline was empty! This was an important detail to federation that I didn't understand before setting up the server.
Running and instance of uno (or a small cohort) has two main drawbacks that I've found so far:
- a mastodon server is only aware of instances it is federated with, and only has passive information about posts that occur during its time running
- posts by authors you follow may appear to have empty replies, whereas folks from servers you are not federated with may have replied
At first this seemed show-stopping. I love to see conversations "in the replies," as it's often a great way to find new viewpoints or folks to follow. I tried to solve this by setting up what are called "relays" which seem like mastodon firehoses to "pseudo-federate" your instance and receive a lot of extra content. This, however, wasn't worth the extra bandwidth, media storage, and server load so I've since disabled them all. Instead, I found that you can simply click the date of a post to view it on the author's server. There you can see the entire set of replies. Not so bad! But worth being aware of.
4. Ongoing maintenance and backups
Backups are important. That's a maxim made more pressing by my use of dilapidated hardware as the webserver. Usually, my method of "backup" is to use scp to copy important files and database dumps from my webserver across the local network to my desktop. If you want to rely on the cloud you could use a storage provider for extra off-site redundancy. But in the spirit of incurring no costs, keeping it all under by solar-powered roof, and using existing hardware, I'm going to keep it simple.
I created the following backup.sh script to periodically back up the important bits, including postgres, redis, and media/static files.
!/bin/bash

NOW=$(date --iso-8601=seconds)
HOST=marshbox.local
HOST_USER=marsh
DEST_DIR=/data/zombiebox-backup/mastodon/$NOW/

if ping -c 1 -W 1 "$HOST"; then
  echo "$HOST online, backing up"

  runuser -l mastodon -c 'cd /home/mastodon && mkdir backup'

  # postgres
  runuser -l mastodon -c 'cd /home/mastodon && pg_dump -Fc mastodon_production -f /home/mastodon/backup/postgres.dump'

  # redis
  cp /var/lib/redis/dump.rdb /home/mastodon/backup/dump.rdb

  tar_cmds="tar -czf backup/accounts.tar.gz live/public/system/accounts/ && \
  tar -czf backup/media_attachments.tar.gz live/public/system/media_attachments/ && \
  tar -czf backup/site_uploads.tar.gz live/public/system/site_uploads/"

  # uploads
  runuser -l mastodon -c "cd /home/mastodon && $tar_cmds"

  # ensure the destination directory and send 'er over
  ssh $HOST_USER@$HOST "mkdir -p $DEST_DIR"
  scp /home/mastodon/backup/* $HOST_USER@$HOST:$DEST_DIR

else
  echo "$HOST not online, skipping backup"
fi
For this file in particular, I wanted to make sure it ran, so I tried healthchecks.io for the first time and added the following cronjob for the root user:
0 3 * * * /home/mastodon/backup.sh && curl -fsS -m 10 --retry 5 -o /dev/null https://hc-ping.com/{UUID}

As of now, I think that's just about everything I've done for the server. If you have any questions, feel free to reach out :)
Compiled 2026-03-31