Running a basement server
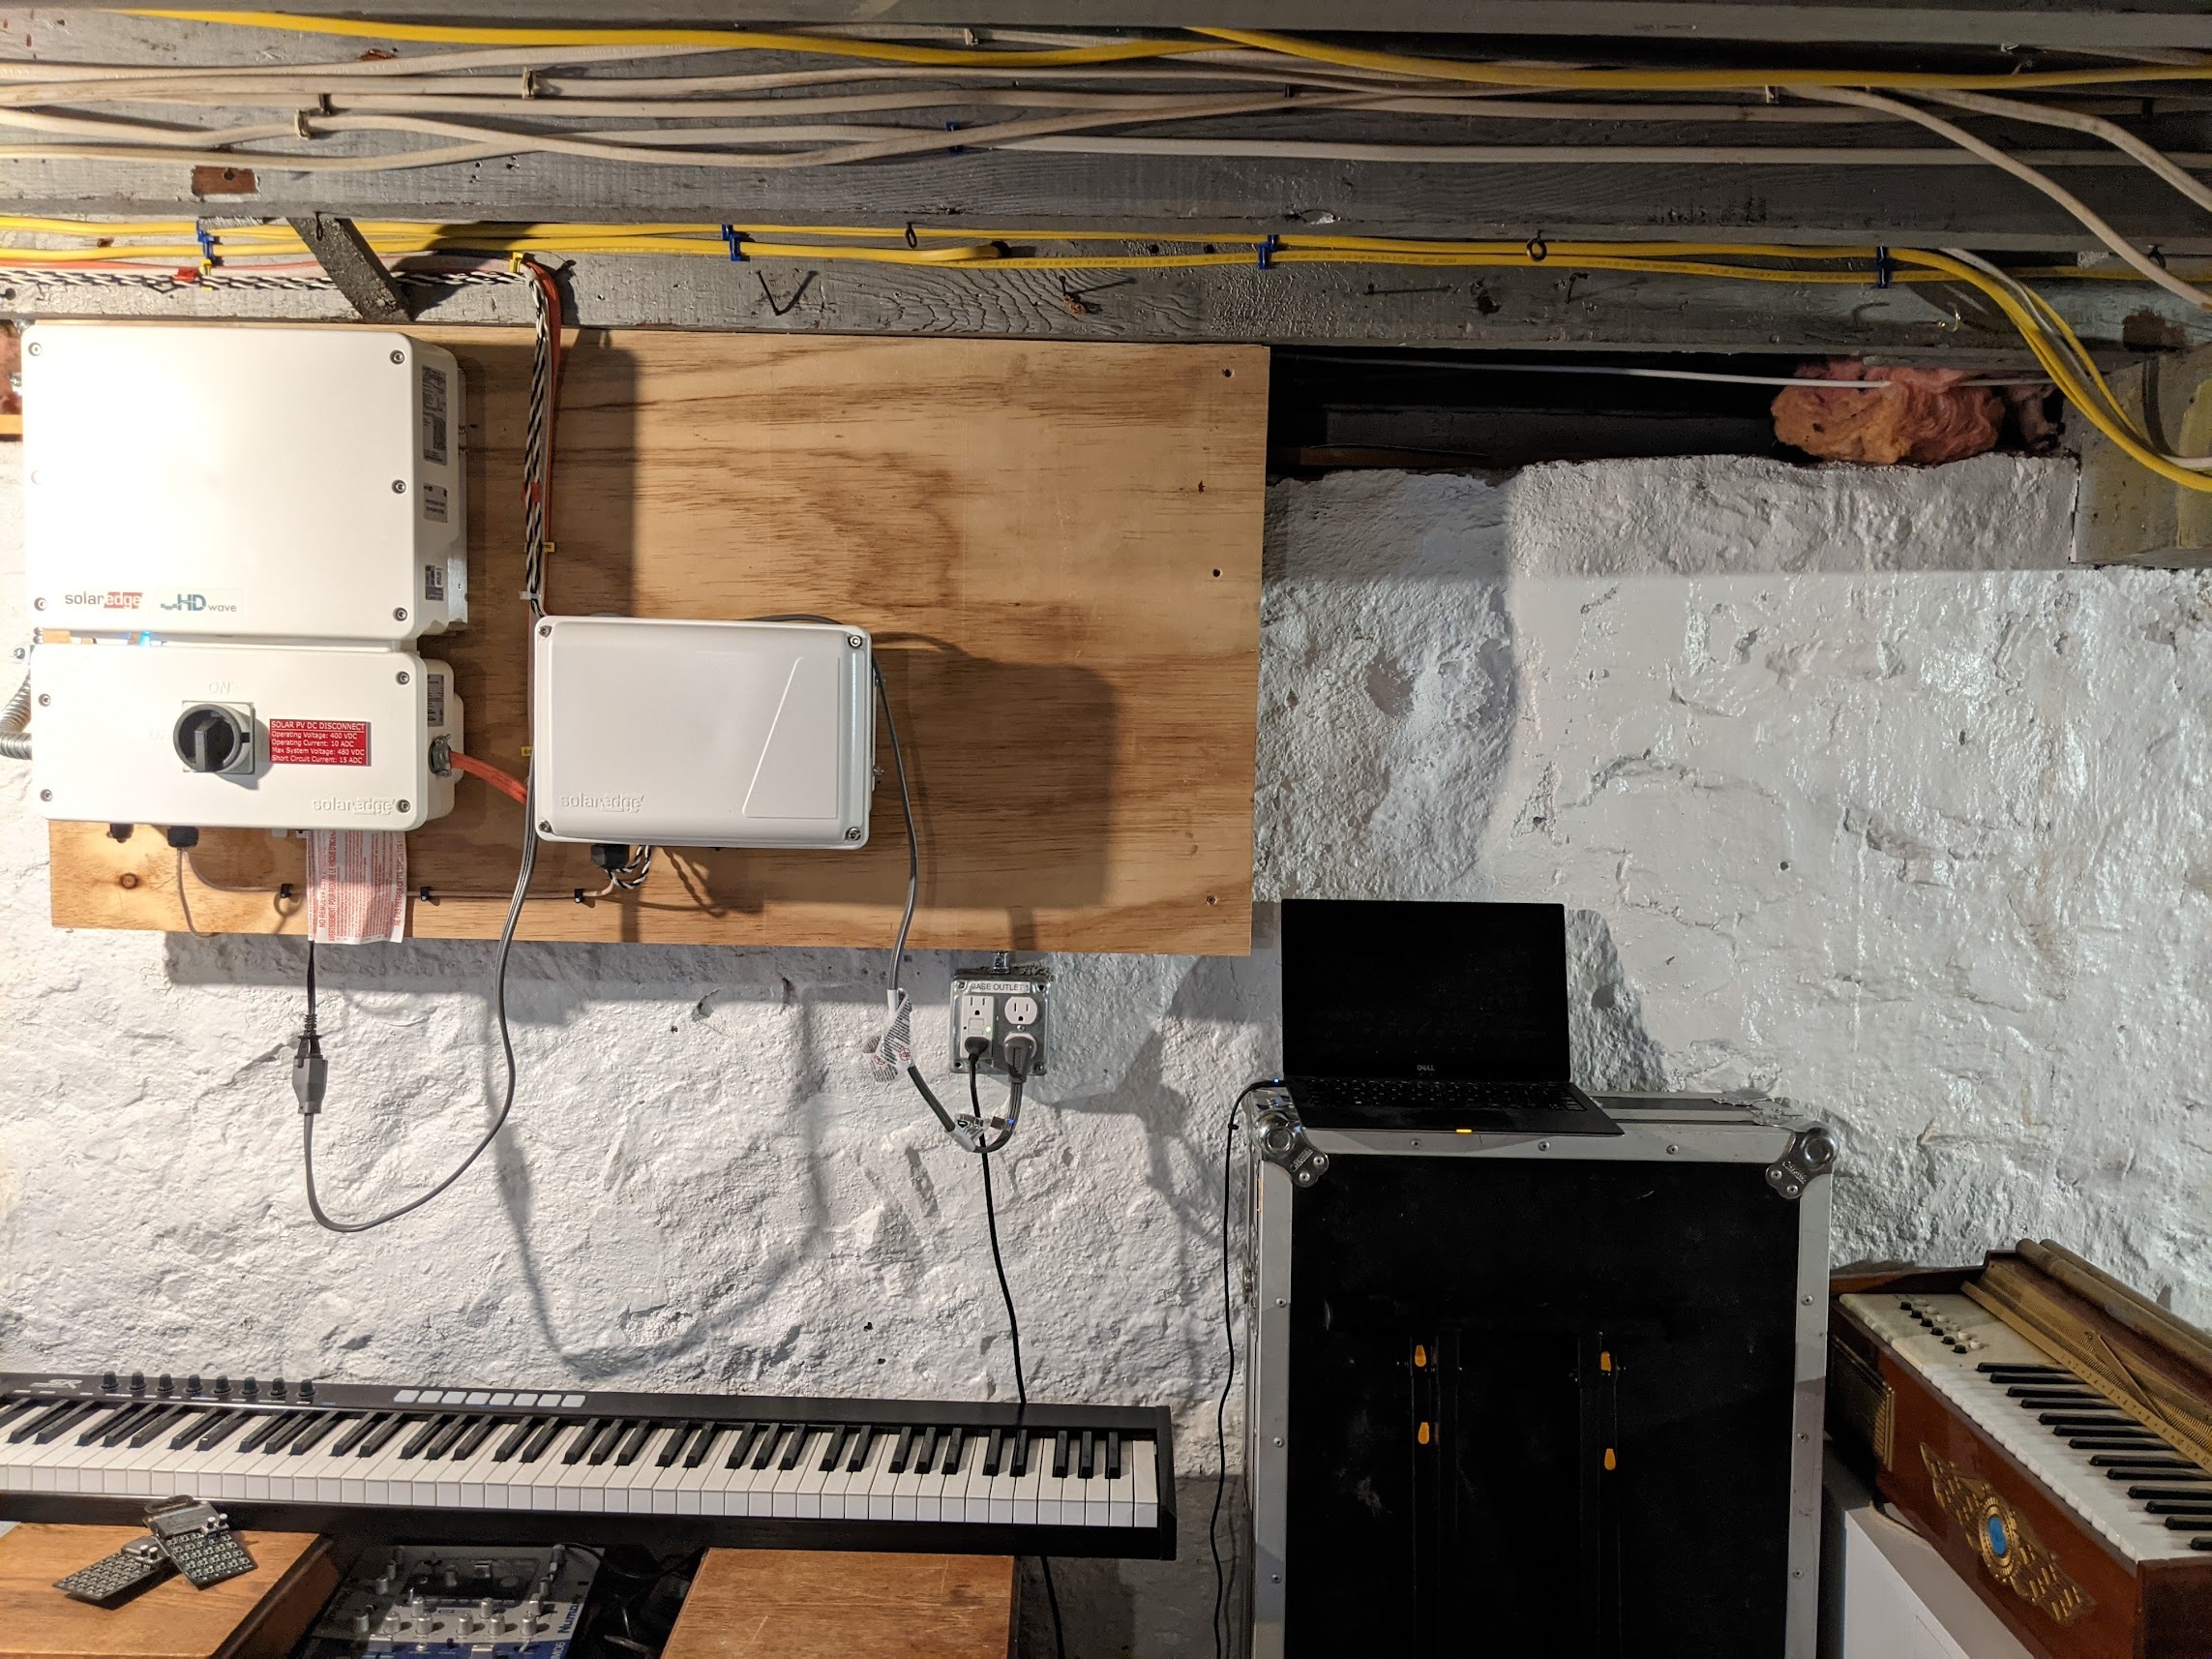
A few years ago, a laptop of mine experienced inexplicable battery failure. Each time the laptop violently ceased operation when A/C power was removed, it communicated with me. "I am a homebody," it said, "and I wish to remain in the proximal comfort of the outlet." And a makeshift basement server, {zombiebox}, was born.
With any home server, especially one exposed to the internet, there are a few challenges one must overcome:
- Your home's external IP address will periodically change (unless you pay for a static IP, which I do not)
- Your local network might change your server's local IP address
- When a request is made to your home's external IP address, your router must know what to do with it
Disclaimer: most ISPs do not allow running "servers" from a residential subscription. Their terms are vague, but proceed at your own risk.
1. Dynamic DNS
To solve the first issue, where your home's external IP addresses periodically changes, you have to continually update your DNS records to reflect the current IP. For example, when setting up a Mastodon instance on werm.world, I needed the root A record to point to the IP address of my home. There used to be a number of daemons and somewhat questionable services that I would use for this - but this time around I found that Google Domains (my registrar for werm.world) had a (new?) hidden Advanced Setting. You should see if your registrar supports something like this natively - at its core, all you need is a programmatic way to update a DNS record so look for an API to do so. Hopefully, you can adapt some of the following for your purposes.
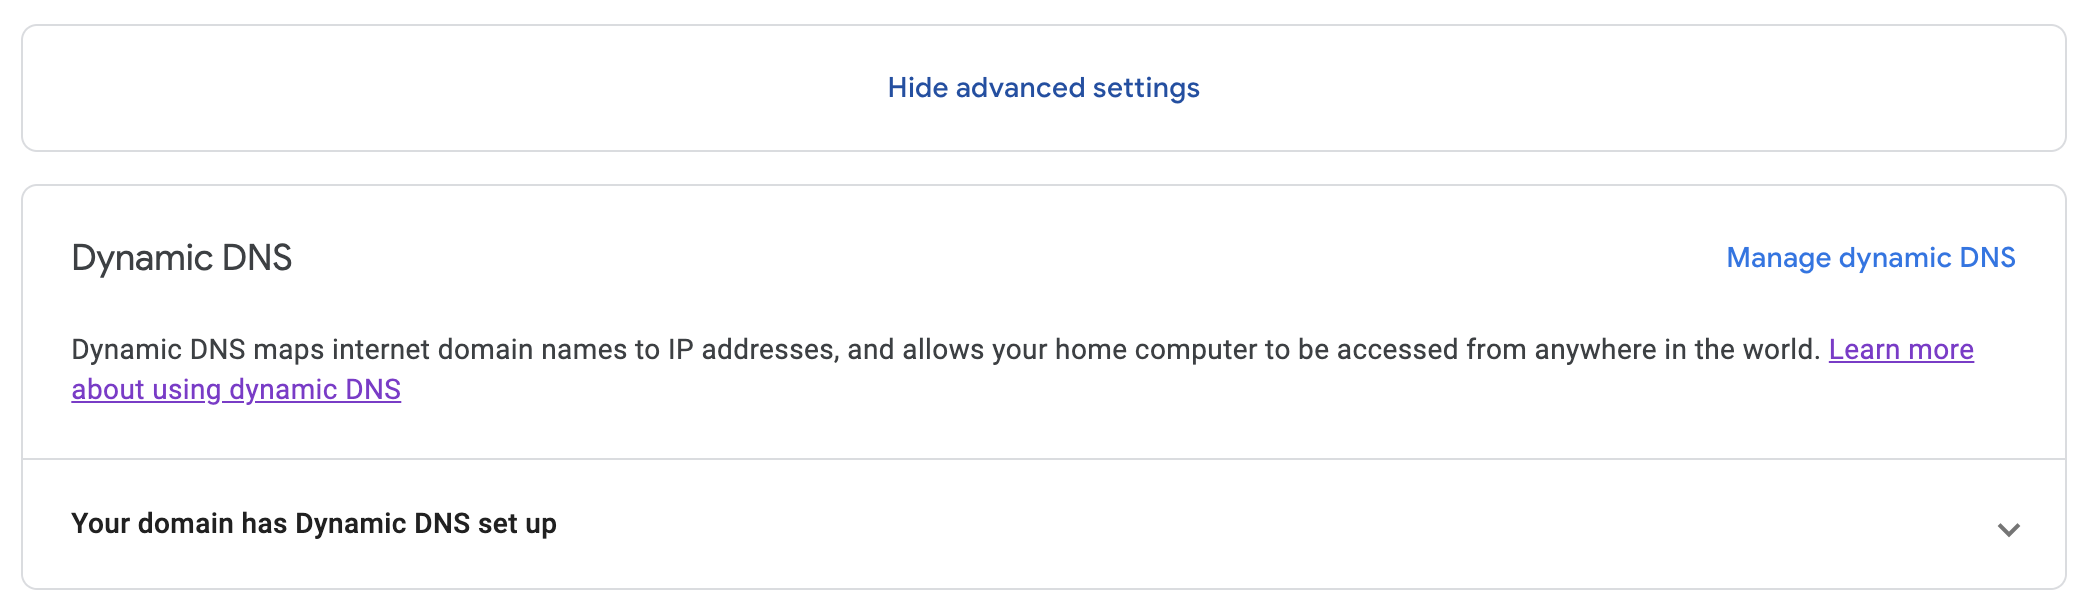
By creating a Dynamic DNS record, Google Domains provides credentials that can then be used with their API to update the IP. So, on {zombiebox}, I patched together the following script:
!/bin/sh

HOSTNAME=""
USERNAME=""
PASSWORD=""

LOG_IP_FILE="/tmp/ddns_ip.log"
touch $LOG_IP_FILE

LOG_FILE="/tmp/ddns.log"
touch $LOG_FILE

PUBLIC_IP=$(curl -s -k https://domains.google.com/checkip)
DDNS_IP=$(echo ${LOG_IP_FILE})

if [ "$PUBLIC_IP" != "$DDNS_IP" ]; then

  URL="https://domains.google.com/nic/update?hostname=${HOSTNAME}&myip=${PUBLIC_IP}"
  RESP=$(curl -s -k --user "${USERNAME}:${PASSWORD}" "$URL")

  case $RESP in
    "good ${PUBLIC_IP}" | "nochg ${PUBLIC_IP}")
      echo $PUBLIC_IP > ${LOG_IP_FILE}
      echo "`date`: ${HOSTNAME} successfully updated to ${PUBLIC_IP}." >> ${LOG_FILE}
      ;;
    "nohost")
      echo "`date`: The host ${HOSTNAME} does not exist, or does not have Dynamic DNS enabled." >> ${LOG_FILE}
      ;;
    "badauth")
      echo "`date`: The username / password combination is not valid for the host ${HOSTNAME}." >> ${LOG_FILE}
      ;;
    "notfqdn")
      echo "`date`: The supplied hostname ${HOSTNAME} is not a valid fully-qualified domain name." >> ${LOG_FILE}
      exit
      ;;
    "badagent")
      echo "`date`: Your Dynamic DNS client is making bad requests. Ensure the user agent is set in the request." >> ${LOG_FILE}
      exit
      ;;
    "abuse")
      echo "`date`: Dynamic DNS access for the hostname ${HOSTNAME} has been blocked." >> ${LOG_FILE}
      exit
      ;;
    "911")
      echo "`date`: An error happened on Googles end." >> ${LOG_FILE}
      ;;
    *)
      echo "`date`: $RESP" >> ${LOG_FILE}
  esac
fi
And I added a cronjob to run it regularly with crontab -e:
*/15 * * * * ~/apps/update-google-dyndns.sh
That script will let Google Domains know what your IP is.

To test without a browser you can run the following, noting the ANSWER SECTION:
~> dig werm.world

; <<>> DiG 9.10.6 <<>> werm.world
;; global options: +cmd
;; Got answer:
;; ->>HEADER<<- opcode: QUERY, status: NOERROR, id: 42265
;; flags: qr rd ra; QUERY: 1, ANSWER: 1, AUTHORITY: 0, ADDITIONAL: 1

;; OPT PSEUDOSECTION:
; EDNS: version: 0, flags:; udp: 1232
;; QUESTION SECTION:
;werm.world.            IN  A

;; ANSWER SECTION:
werm.world.     60  IN  A   72.93.97.128

;; Query time: 82 msec
;; SERVER: 192.168.1.1#53(192.168.1.1)
;; WHEN: Sat Dec 17 12:51:48 EST 2022
;; MSG SIZE  rcvd: 55
2 + 3: Getting requests from the internet to the basement
Configuration depends on he server's operating system and the router used for the network. The crux of what is needed is threefold:
- the server must be setup to always request the same local IP address from the router,
- the router must reserve that IP address for the server's hostname, and
- the router must be configured to forward the right requests to the server
If fiddling with your router is new to you, you must first find its address and log in to it's management application. For me, the router's address is 192.168.1.1, but it differs vendor to vendor. To check, you can look at your operating system's network settings for a "router" entry. Or, you can run the following while connected to the network:
~> netstat -nr | grep default
default            192.168.1.1        UGScg             en0
A router's management application will have username/password authentication which is either set to a vendor default or noted physically on the router.
Look for DNS settings, often hidden under an "Advanced" veil. There, you can set the server's hostname (in my case "zombiebox.local") to be assigned a specific local. With a consistent local IP, the router can be configured to forward requests made to your external IP of a certain port (i.e. 443) to the server's local IP. To do this, look for "Port Forwarding" and select the server's IP as well as the port (in a webserver's case, 443 and/or 80).
It's dependent on what you are hosting, but from there you can use something like nginx running on the server to route requests to the correct process depending on the domain/request.
Proper security of a home network server is beyond the scope of this humble post, but in short forward the smallest set of ports possible for your server to function on the internet, and follow any application-specific guides closely on best practices for securely running the server.
Compiled 2026-03-31